
Flour
A few words about flour. When making any bread, you would normally opt for a strong flour, that is to say that the flour has a high protein content (12-13%) and therefore good gluten. Some flour varieties are naturally high in protein an some aren’t. This makes following a recipe quite difficult. A high protein flour will hold much more water than a lower protein flour. What you will also find is that bread sold as bread flour has additives such as wheat gluten and other emulsifiers to improve the final outcome of your loaf.
Hydration
Traditionally sourdough bread has high hydration i.e. water to flour ratio, but the higher the hydration the more difficult it is to handle the dough. I recommend that when you start making sourdough bread, using about a 60-65% hydration.
I discovered this when I first started making sourdough bread. I would follow a recipe to the letter but my dough would be much weaker and I could never get it to hold it’s shape. The flour I use in France is very low protein about 10-11%, and was finding high hydration dough very difficult to work with and hold their shape. I could buy “bread” flour but I wanted to use organic flour with no additives. So when I made this tin loaf I experimented with the water content to gluten ratio and came up with this recipe.
You can buy organic wheat gluten and add about a tablespoon to the flour which will give you a stronger dough. Don’t forget though you will need to increase the water content because Gluten absorbs and can hold more moisture.
My number one tip is when you come to add the water, leave it about 10-20ml short of the recipe, you will learn when a dough looks dry and needs more. Also the weather can make a difference to the dough too.
Practice, Practice, Practice
Rising
A note about rising dough. The more a dough rises, the more fragile it becomes. So if you left the dough to rise and rise and rise, at some point it would just collapse because it can’t hold the structure any longer. Again higher gluten flour dough will get higher and hold longer than lower gluten flour dough. So you see it’s always a balancing act when your dough is ready to put into the tin or ready to bake.
Beginners Sourdough Recipe
You will need:
100grams sourdough starter
450grams flour – try to get the strongest flour you can. This recipe is for flour with approximately 10% protein
300-315 ml unchlorinated water (filtered, bottled or leave some water overnight to evaporate the chlorine)
7grams Salt – Ensure that the salt has no iodine added. In France you can get “Ile de Re” sea salt with no additives.
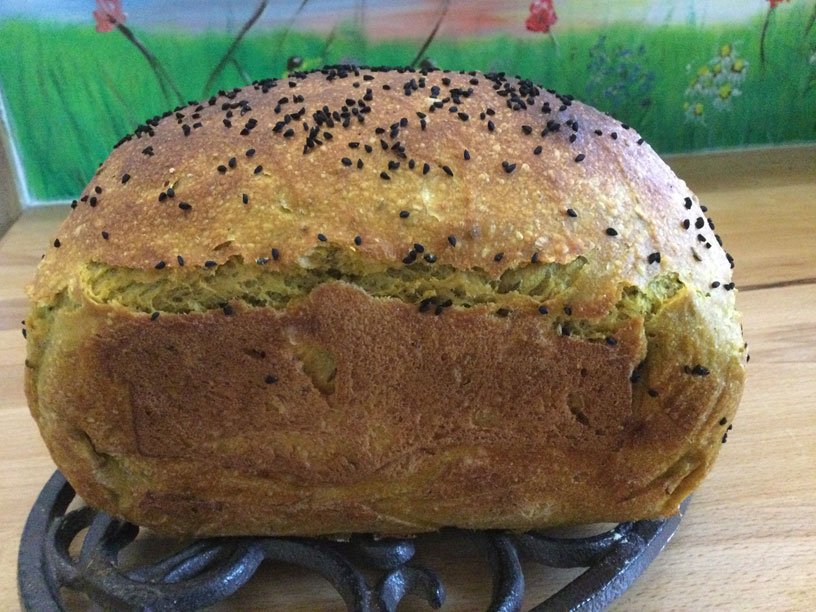
Optional – 1 Tbsp Tumeric power, 1 tsp carraway seeds, 1 tbsp nettle powder or any other flavour or additive you like.
A sourdough scraper is extremely useful for pulling the dough into shape when you need to create tension.
Method
Before you start, ensure that you have enough starter made to use 100grams leaving a tablespoon to re-feed. An important thing to note is that sourdough is not about kneading, it is about gently gently does it to incorporate as much air as possible and keep the air built up from the fermentation. Also I am not looking for perfection with making sourdough bread. I’m looking for a good solid edible loaf so don’t aim for perfection otherwise you will give up too soon.
Step 1 – mixing & autolyse
- Weigh out your flour into a bowl and add the salt and any other optional dry ingredients e.g. tumeric powder, mix well.
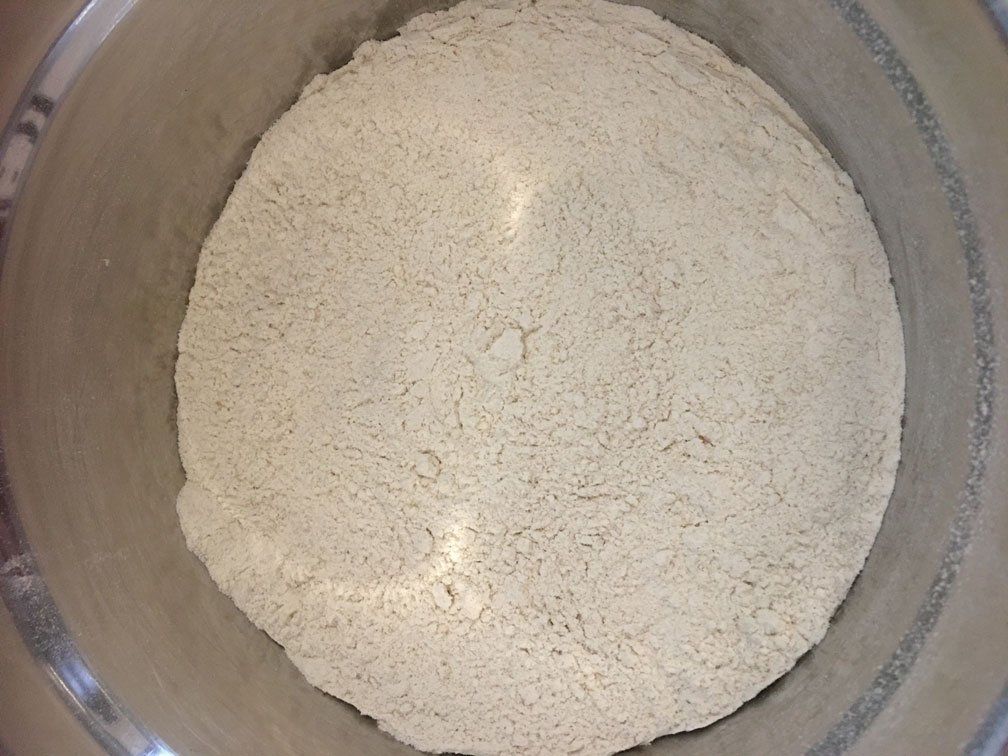
2. Add 100 grams of prepared starter into the middle of your flour.

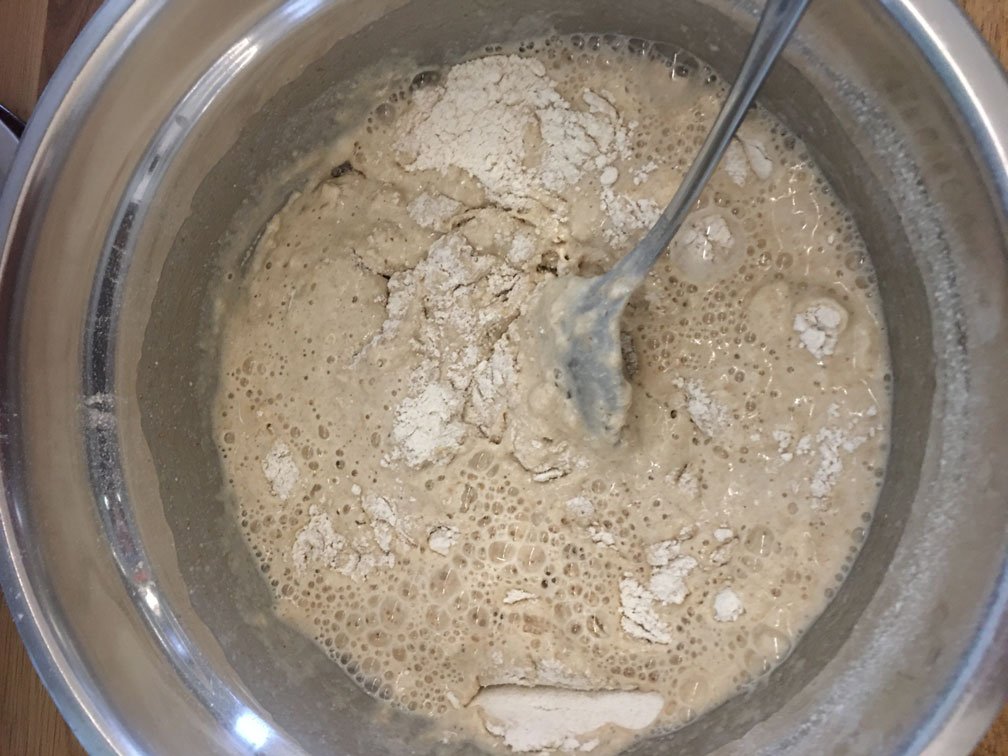
3. Pour 300 ml of water around the starter and using a spoon, start to mix the starter and water together then gradually move the spoon wide to incorporate the flour. Keep stirring and lifting. If you find that the mixture is very stiff and there is still quite a bit of flour left in the bowl, add water at a rate of 1tbsp at a time and mix until you have a slightly sticky, soft dough.


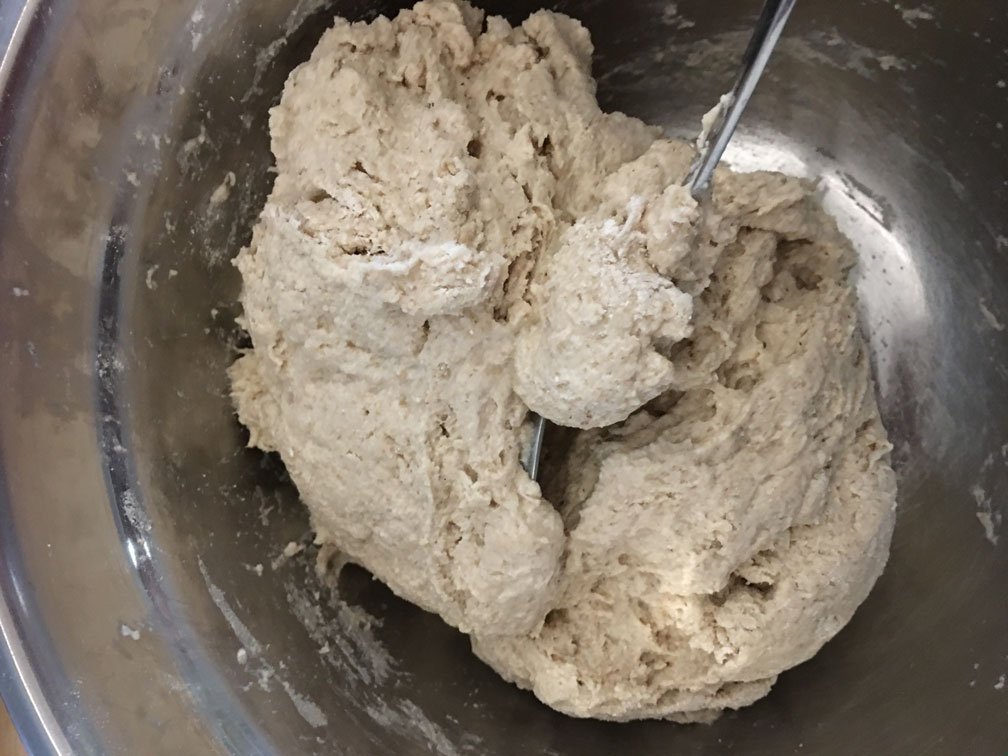
4. Place a plate or cover with a cloth and leave for anywhere between 45mins to 1.5 hours. This is known as “Autolyse” (auto-leez) and allows the flour to completely absorb all the water added.
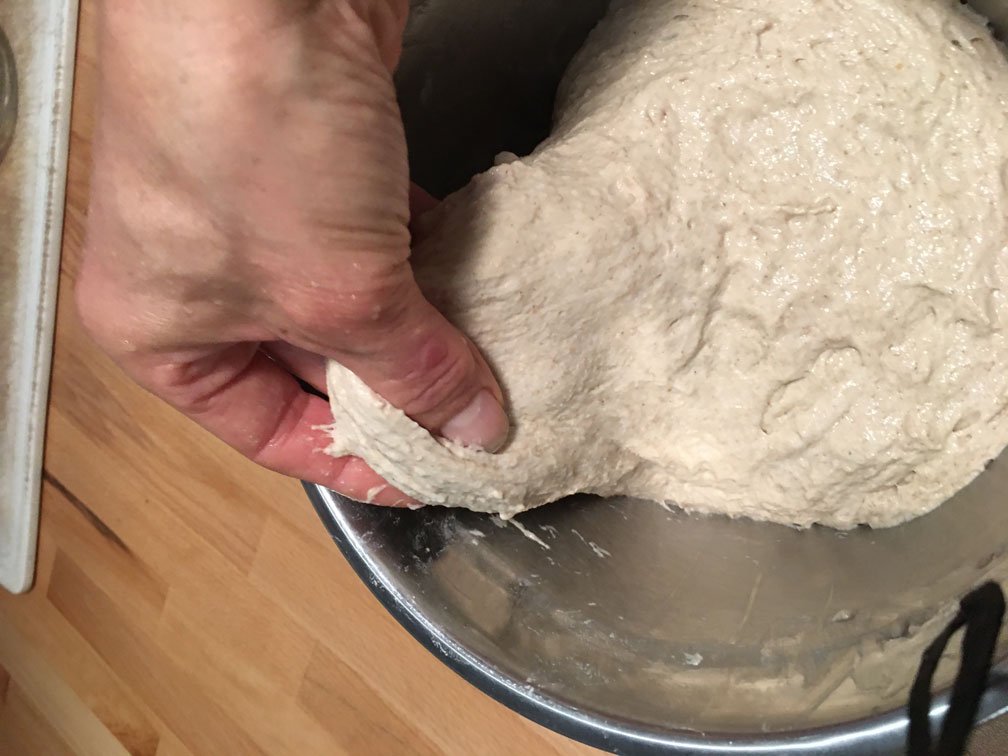
Step 2 – Stretch & fold
- Remove the cover and wet your hand with water. Using the inside flat of your fingers, scoop the dough and gently stretch up and fold over itself. Turn the bowl and repeat. You should be able to do 3-4 stretch and folds.
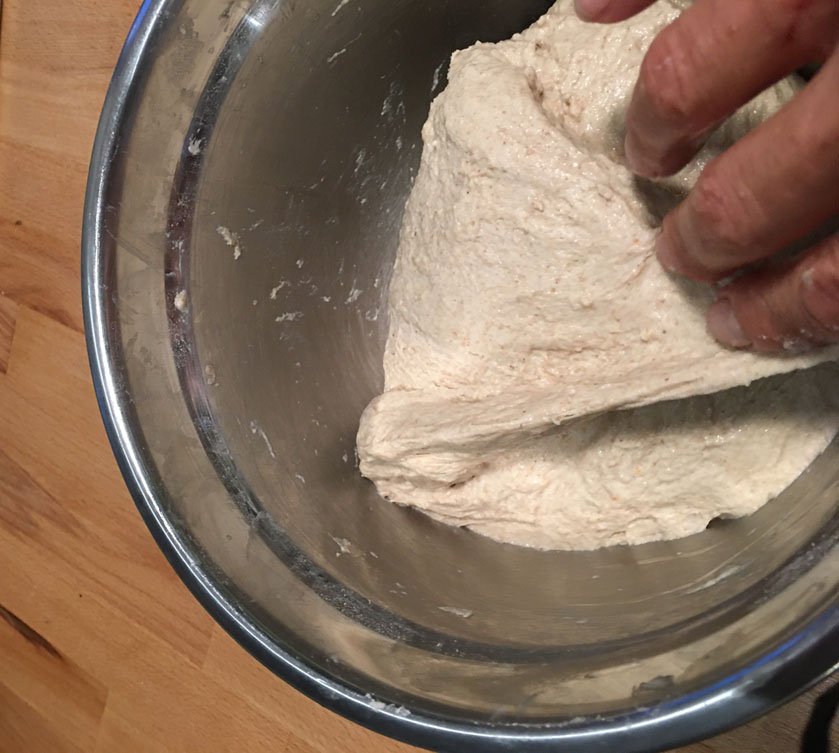

2. Cover bowl and leave for 30 minutes.
3. Repeat the stretch and fold two more times with 30 minute intervals in between. By this point you should have a much smoother dough than when you started. Now comes the tricky bit!
You should leave your dough to “ferment” and “rise” so that it is approximately 25% larger than when you started. Depending on the weather this could take 1 hour or 3 hours! Because this is a tin loaf, we don’t want the dough to rise too much because it will become very difficult to handle putting it into the tin. At this point you could also just place the dough covered in the fridge and shape it the next day. That’s the flexibility of sourdough.
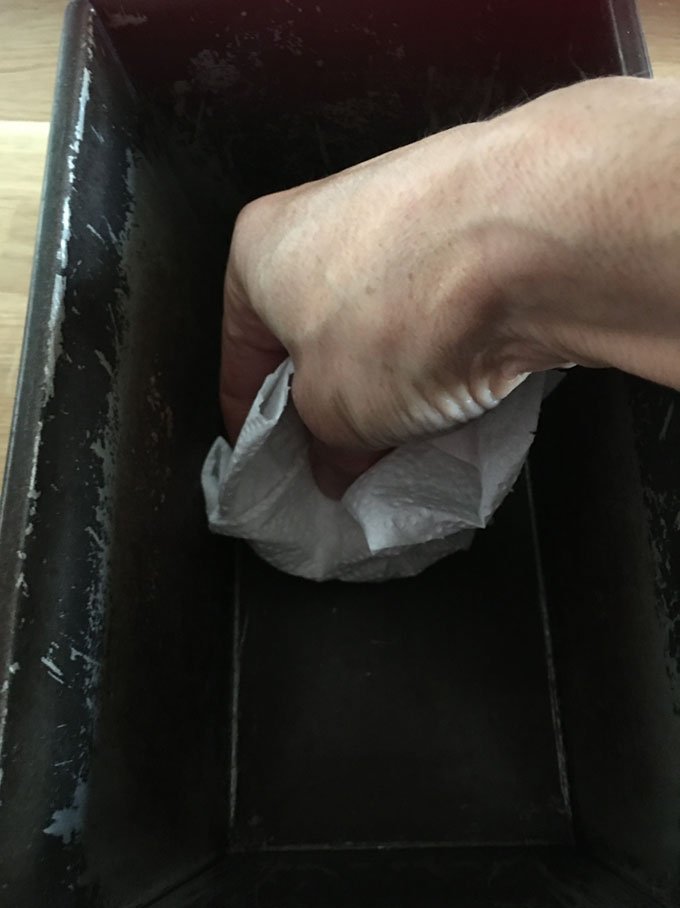
4. Line the tin – I line my bread tin because it is old and the non stick has got. You may not need to do this step if you have a good quality non stick tin. I grease with coconut oil or butter then push a piece of greaseproof paper into the tin and firm round the sides and corner with my fingers


Step 3 – Shape
- Once the dough has had time to rest and rise as above, very gently turn out the dough onto a clean work surface. Do not at this point put flour down because you will want the dough to partially stick to the surface to create tension. If you don’t have a dough scraper see alternative below, you can use a spatula or your hand. The purpose of this step is trying to add tension to the outside surface of the dough by gently pulling and rolling the dough.
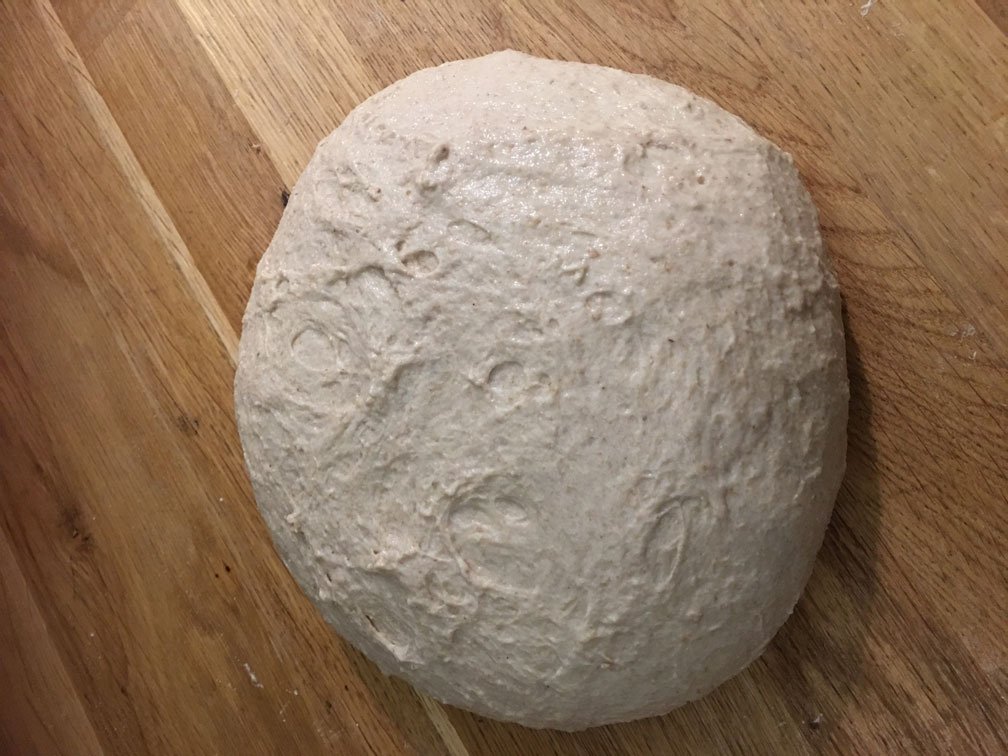
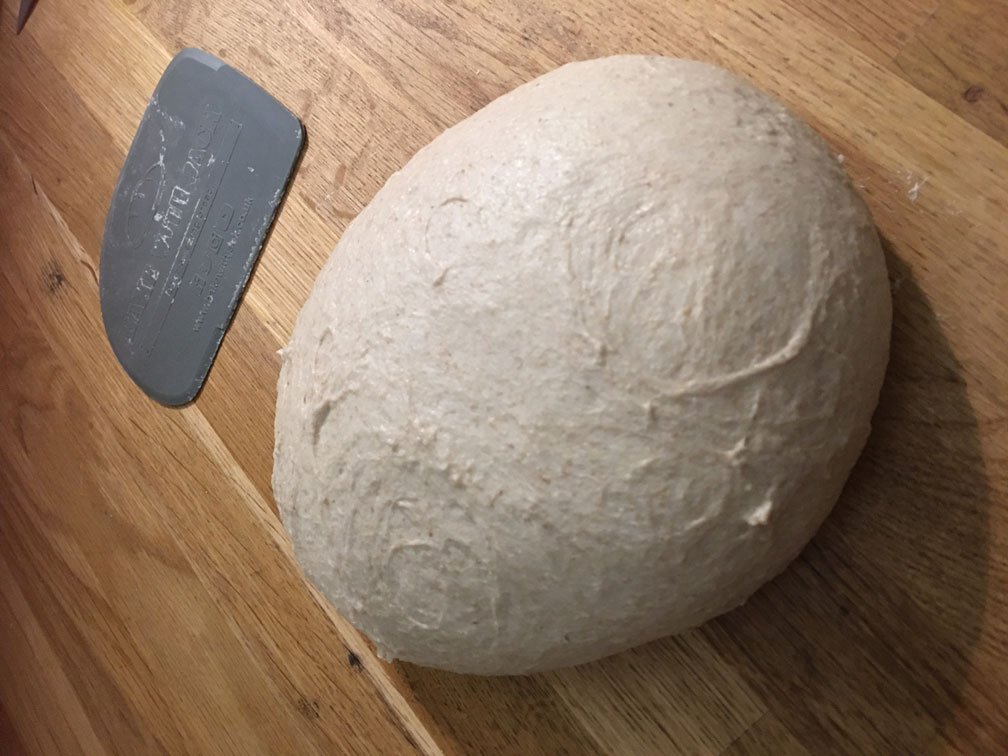
Alternative – If you don’t have a scraper turn out the dough onto a LIGHTLY floured surface twice as large a the size of the dough. Take up a corner of the dough and gently stretch and drop in place. Repeat all round the dough. You are aiming to make the dough roughly an oblong 2 x length of the width. Next pick up each side and fold in. Now pick up the top and tuck it under and roll it down the length of the oblong so you end up with something that looks like a swiss roll. The folds will eventually rise out. Slash with serrated knife and add more flour if necessary to pick up and place in tin.
2. Leave to rest for about 30 mins. Cover with a lightly floured cloth or the upturned bowl. After 30 minutes you may find it has re-flattened slightly. Repeat the roll process to form a dough ball. Using a serrated knife slash through the top of the dough 2-3 times. Now add some flour around the dough and on your hands. With a purposeful and fast movement lift and drop the dough into the tin. It takes practice!
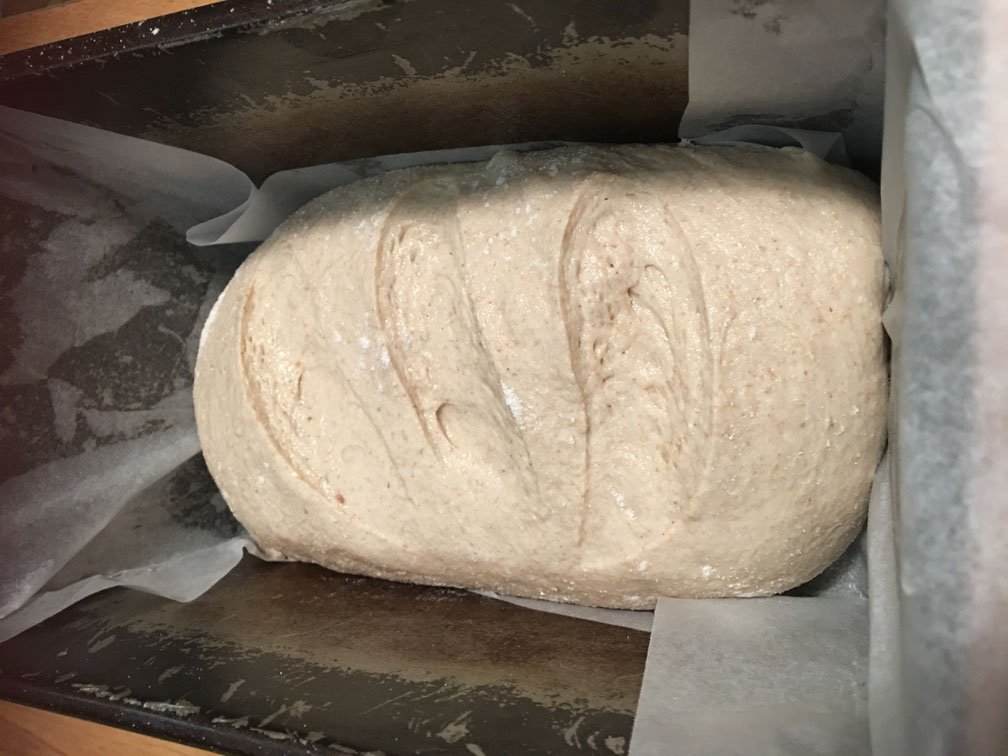
Put into a large plastic bag. This is where you have flexibility with your dough. You can leave it until it is risen to about 1/2 way up the tin and put the fridge overnight. Take out the following morning to either bake if risen or leave to rise more before baking. Bake the same day (warm weather) so leave on the worktop until risen and bake when ready. I bake when the dough has risen to about 1 cm from the top of the tin.

Step 3. Baking
This is how I bake mine:
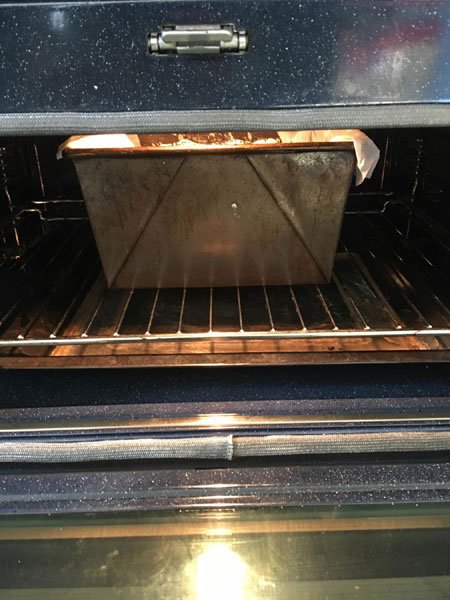
Put a baking tray in the bottom of the oven then the baking shelf. Oven temp 250C (or highest temp you have). Once preheated (15-30mins). Boil the kettle and fill a small cup with hot water. Place the dough on the oven shelf and pour the hot water into the tray. Shut the door for 15mins. This creates steam to allow dough to rise before surface crust forms.
After 15mins reduce to 200-210C (depending on how hot your oven is, you may need to experiment). Bake for a further 25 mins. If you find it’s browning too much on top, cover with foil.
Remove loaf from oven and place on a cooling rack.

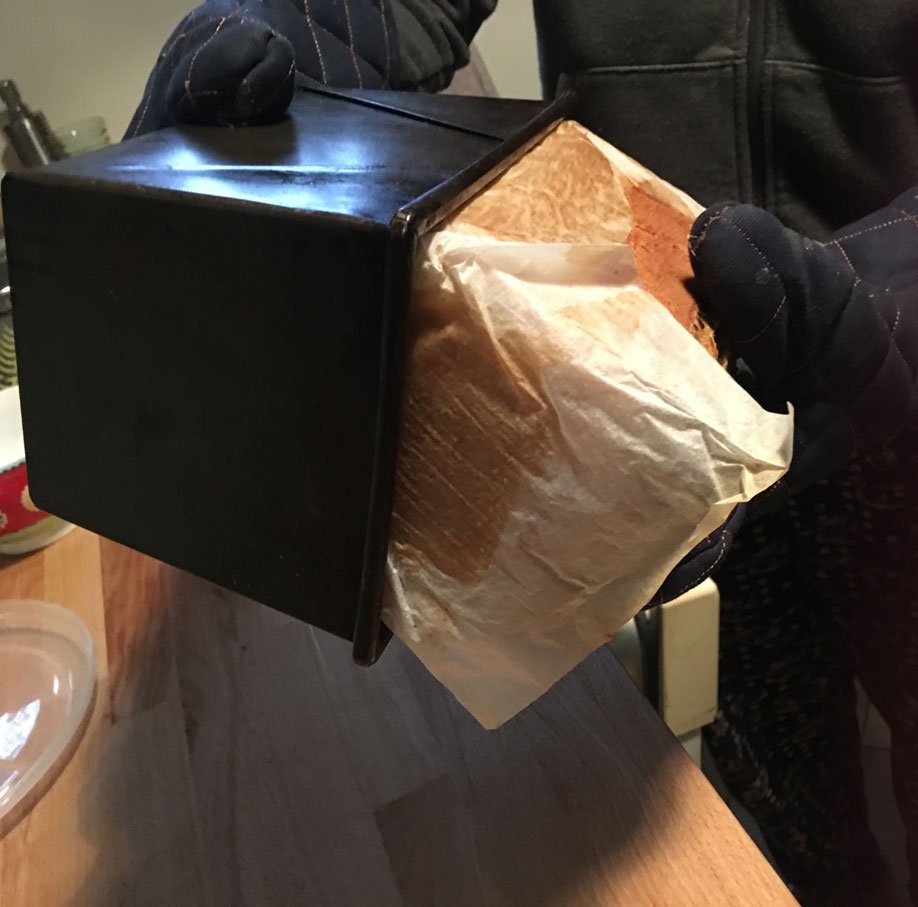
Try not to cut into the loaf before at least 45 mins, ideally a few hours if you can wait that long!